Create a Workflow
Workflows are processes that orchestrate a variety of actions defined between a start and an end point. These actions can be, but are not limited to:
-
Executing other workflows
-
Executing pipelines
-
File handling
-
Error messaging handling
-
Notification handling
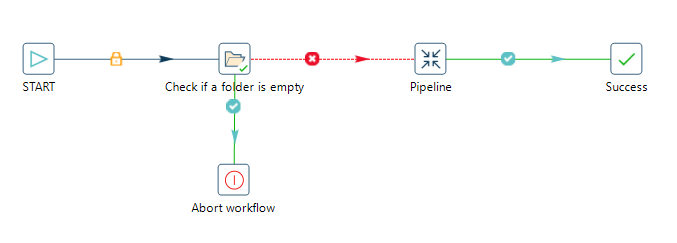
A simple workflow is displayed below. This workflow will check if a folder is empty, if not a pipeline is executed.
Concepts
Workflows consist of actions connected by hops. In the mail example 'Start', 'Check if a folder is empty', 'Pipeline', 'Success' and 'Abort workflow' are all actions.
-
actions are the basic operations in your workflow. A workflow typically consists of actions that are chained together by hops.
-
hops link actions together. Hops can be disabled by clicking on them, or through right-click → disable.
Creation
The design and execution of workflows is very similar to that of pipelines. However, keep in mind that there are significant differences between how Hop handles workflows and pipelines under the hood.
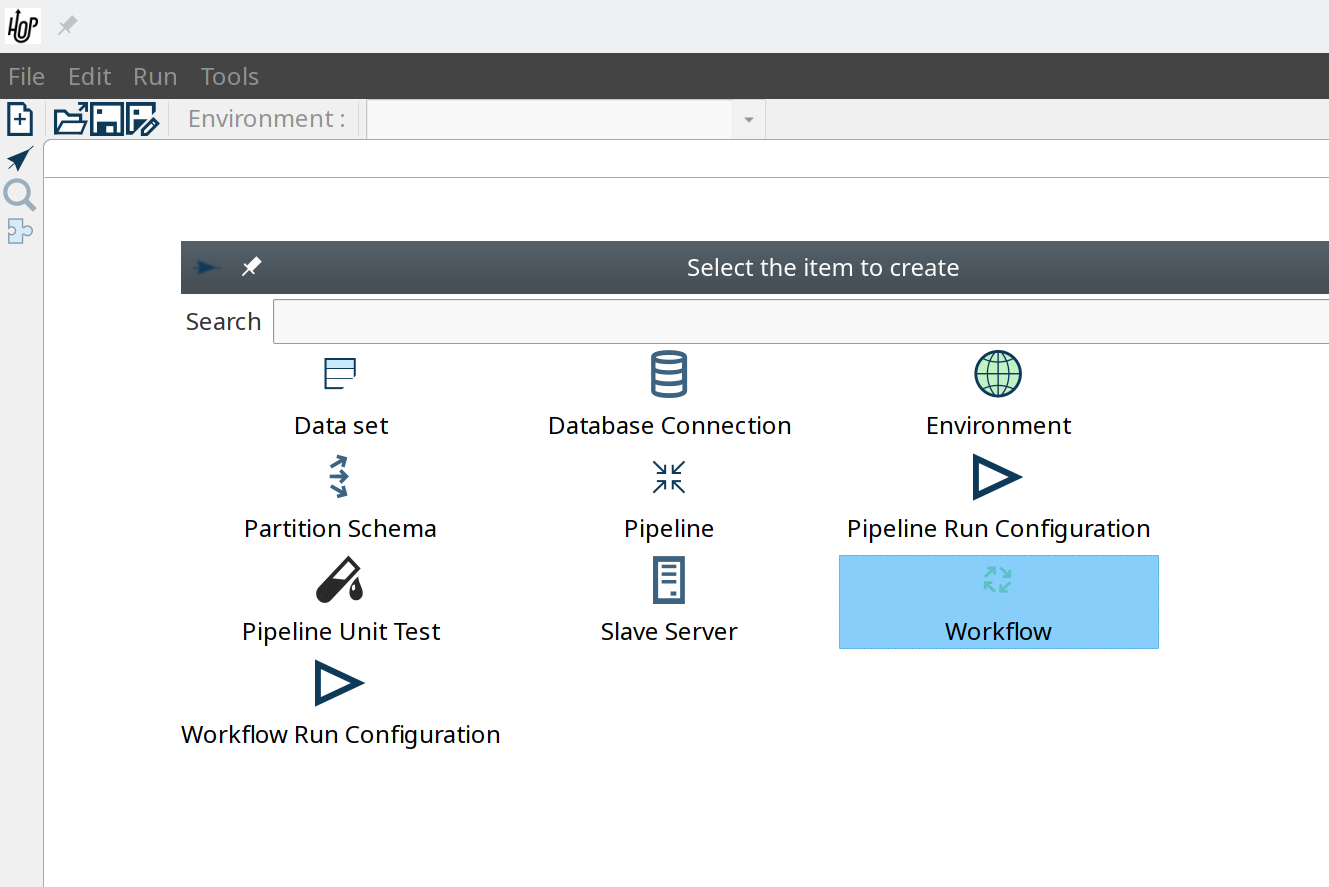
To create a workflow, hit the 'new' icon or 'CTRL-N'. From the pop-up dialog, select 'New workflow'.
When you are finished with your workflow, save it. This can be done via the File menu, the icons or using CTLR s or Command s. For new workflows a file browser is displayed to navigate towards the location you want to store the file.
Add Action to your workflow
Add the following actions to your workflow and create the hops to connect them:
-
Start
-
Pipeline
-
Success
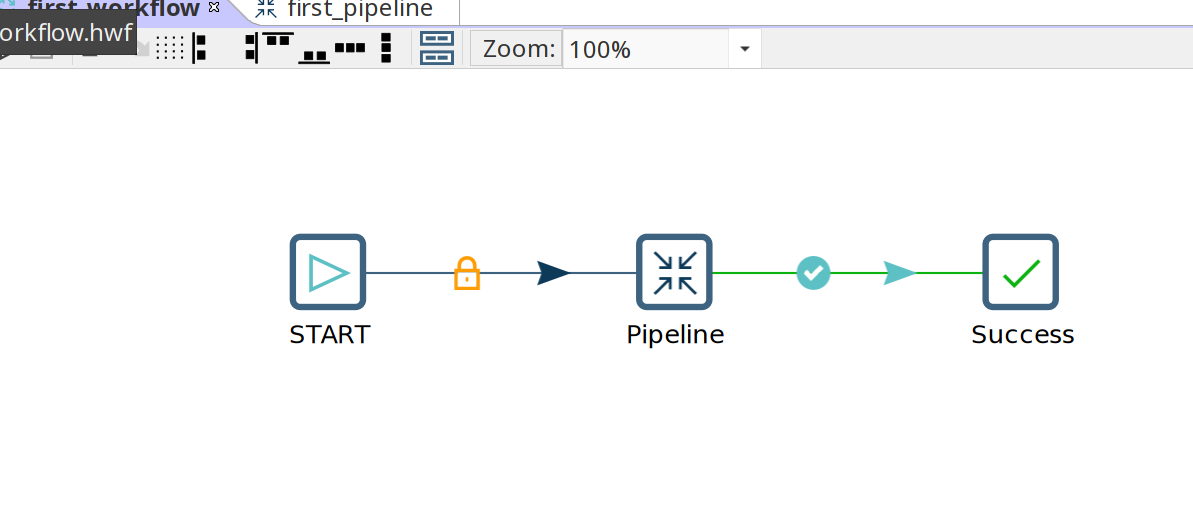
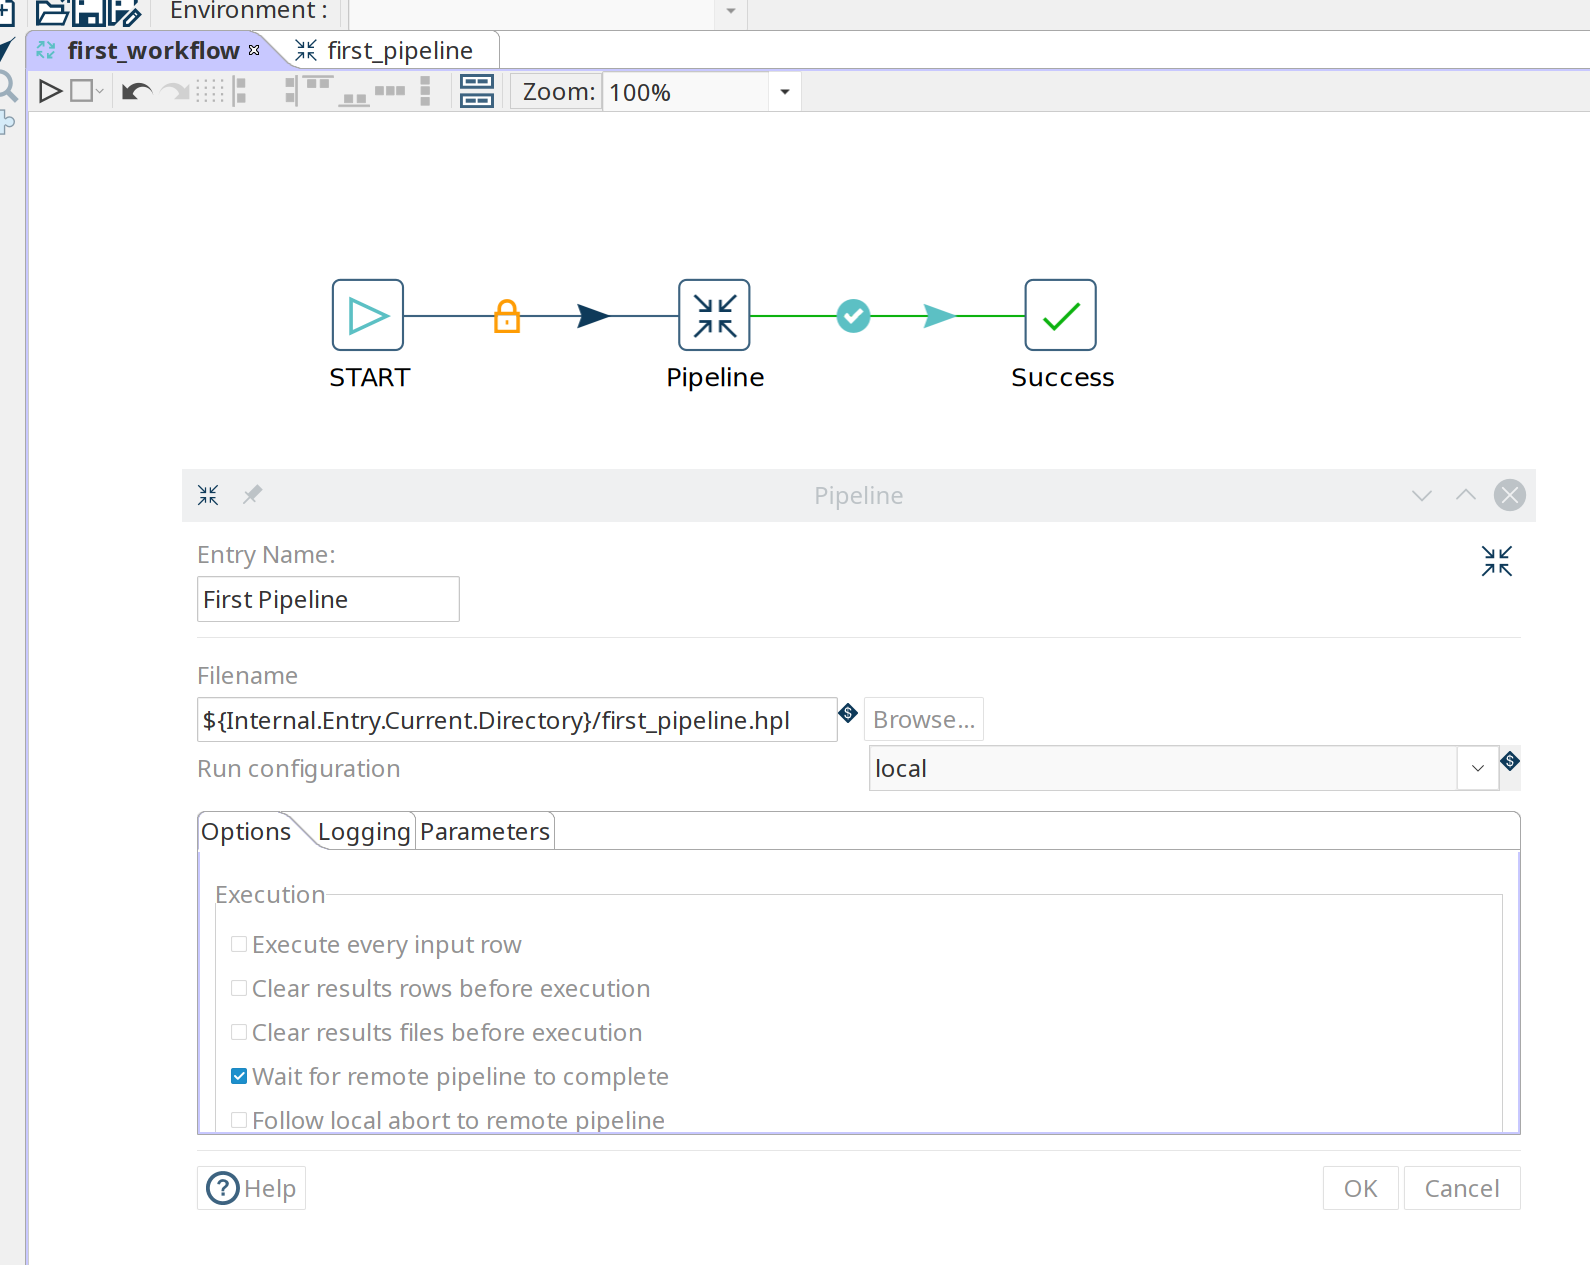
Double-click or single-click and choose 'Edit action' to configure the action for the pipeline you just created.
In the pipeline dialog, use the 'Browse' button to select your pipeline and give the action an appropriate name, for example 'First Pipeline'.
Click 'OK'.
The action items can be configured through a single click on the object. The menu displayed below will be shown based on your action object.
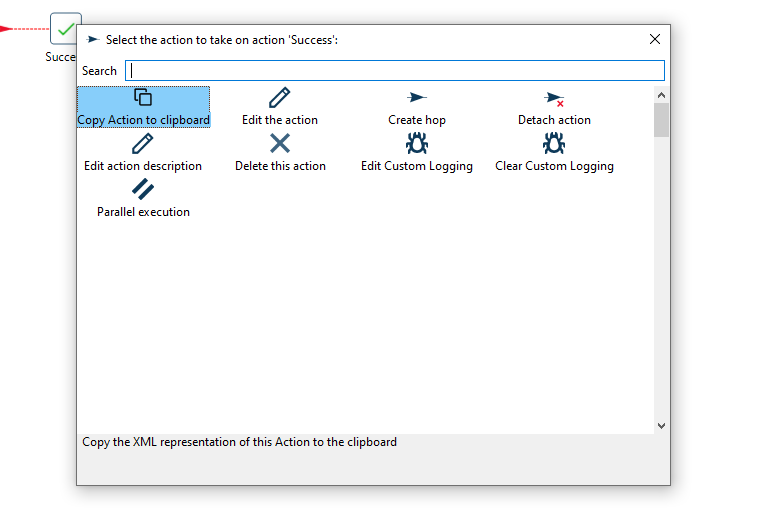
| Action | Description |
|---|---|
Copy Action to clipboard | Copy the selected action to the clipboard. |
Edit the action | Edit the selected action. |
Create hop | Create a hop from the selected action. |
Deteach action | Detach the action from the workflow. |
Edit action description | Edit the description of the action. |
Delete this action | Delete the action from the workflow |
Edit Custom Logging | Edit the custom log settings for this workflow. This will change the log level used for this action. |
Clear Custom Logging | Clear custom log settings. This will clear the log level used for this action. |
Parallel execution | Execute the next actions in parallel. |
Notice how the hops in your workflow are a little different from what you’ve seen in pipeline hops.
Add a fourth action 'Abort' and create a hop from your pipeline action.
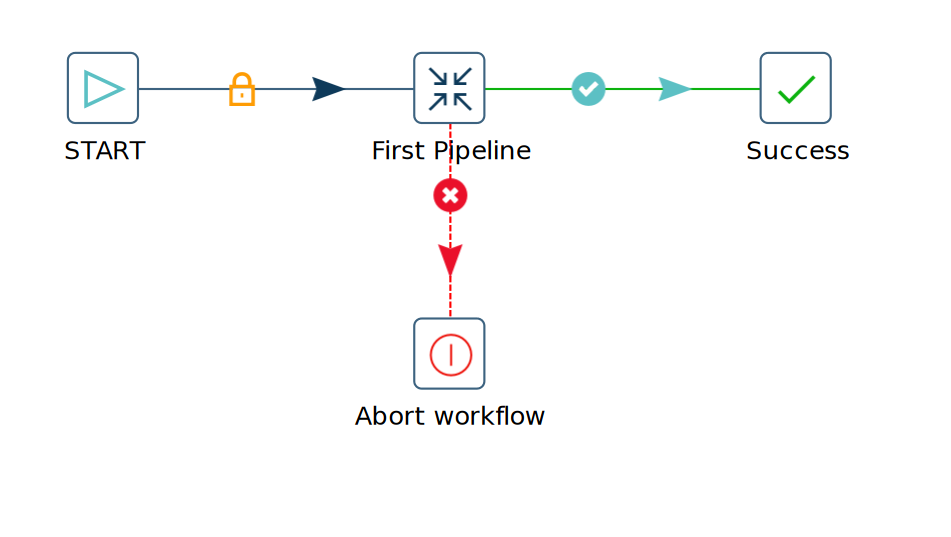
Notice how the hop between your pipeline and Abort is different from the one between pipeline and Success. The hop types used in workflows are listed below.
| Hop | Icon | Description |
|---|---|---|
Unconditional hop | Lock icon, black hop | Unconditional hops are followed no matter what the exit code (true/false) of the previous action is |
Success hop | Check icon, green hop | Success hops are used when the previous action executed successfully. |
Failure hop | Error icon, red hop | Failure hops are followed when the previous action failed. |
| The hop type can be changed by clicking on the hop’s icon. |
Workflow properties
Workflow properties are a collection of properties that describe the workflow and configure its behavior.
The properties dialog can be opened by double clicking on the workflow canvas.
Following properties can be configured:
-
Workflow
-
Parameters
-
Settings
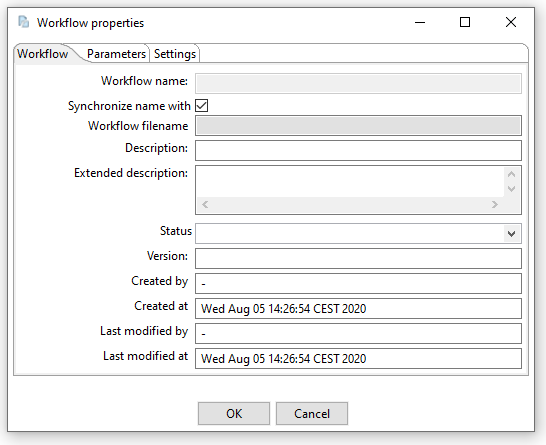
The Workflow tab allows you to specify general properties about the workflow including:
| Property | Description |
|---|---|
Workflow name | The name of the workflow |
Synchronize name with filename | If option is enabled the filename and workflow name are synchronized. |
Workflow filename | The filename of the workflow |
Description | Short description of the workflow |
Extended description | Long extended description of the workflow |
Status | Draft or production status |
Version | Description of the version |
Created by | Displays the original creator of the workflow |
Created at | Displays the date and time when the workflow was created. |
Last modified by | Displays the last user that modified the workflow |
Last modified at | Displays the date and time when the workflow was last modified. |
The parameters tab allows you to specify parameters specific for the workflow. Parameters are defined by a name, a default value and a description.
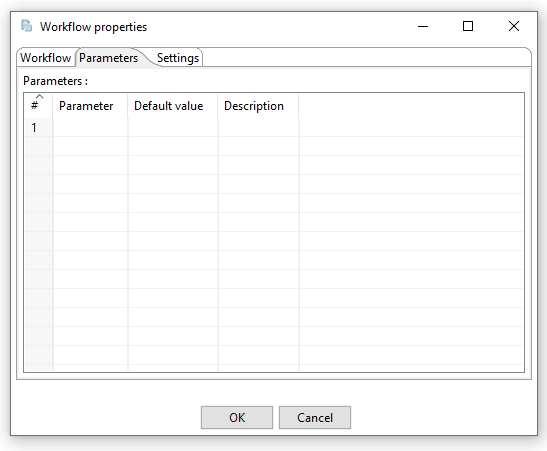
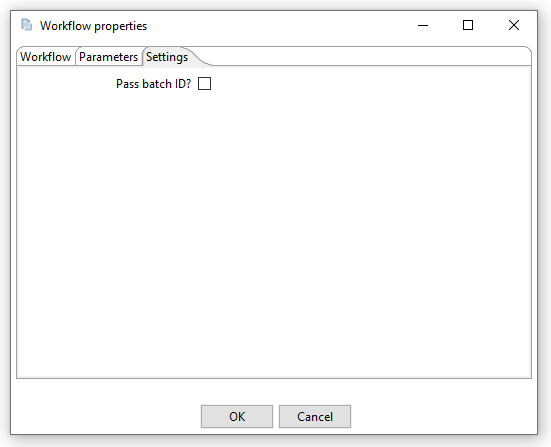
The settings tab allows you to pass the batch ID.
